How to customize the Excel (and Office) Ribbon
Customizing the 2007 Office Fluent Ribbon for Developers (Part 1 of 3) | Microsoft Docs
(...)
To create an Excel workbook that is macro-enabled
Start Excel 2007.
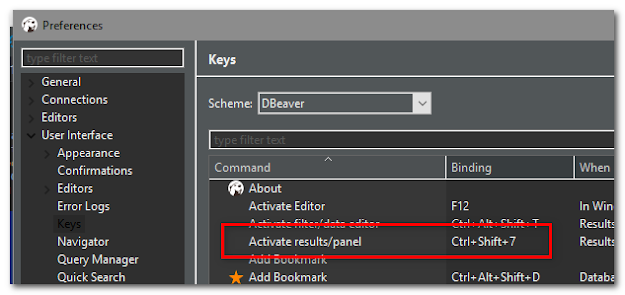
Click the Developer tab, and then click Visual Basic.
.gif "Note") Note
NoteIf you do not see the Developer tab, you must identify yourself as a developer. To do this in your application, click the Microsoft Office Button, click Application Options, click Popular, and then select Show Developer Tab in the Ribbon. This is a global setting that identifies you as a developer in all Office applications that implement the Fluent UI.
In the Visual Basic Editor, double-click ThisWorkbook to open the Code window.
Type the following VBA function, and then click the Excel icon in the left corner of the toolbar to return to Excel.
VBSub MyMacro(ByVal control as IRibbonControl) MsgBox("Hello World") End SubSave the document as a macro-enabled workbook with the file name extension .xlsm.
Note
If you save the document as a standard .xlsx document, you will not be able to run the macro code. When you save the document, you must explicitly select the Save As menu option, and then select Excel Macro-Enabled Workbook (*.xlsm).
Exit Excel.
To create the file that contains the XML markup to modify the Fluent UI
Create a folder on your desktop named customUI.
Create a new text file, add the following XML, and then save the file as customUI.XML in the customUI folder on your desktop.
XML<customUI xmlns="http://schemas.microsoft.com/office/2006/01/customui"> <ribbon startFromScratch="true"> <tabs> <tab id="CustomTab" label="My Tab"> <group id="SimpleControls" label="My Group"> <button id="Button1" imageMso="HappyFace" size="large" label="Large Button" onAction="ThisWorkbook.MyMacro" /> </group> </tab> </tabs> </ribbon> </customUI>
To modify files contained in the macro-enabled file container
In Windows Explorer, find the macro-enabled file you created. Rename the file by adding the .zip extension.
In Windows Explorer, double-click the file to open it.
Add the customization file to the container by dragging the customUI folder from the desktop to the compressed folder and clicking the Add button when prompted.
Drag the _rels folder to the desktop.
Open the new folder, and then open the .rels file in a text editor.
Add the following text between the last <Relationship> element and the </Relationships> element, and then save and close the file.
XML<Relationship Id="customUIRelID" Type="http://schemas.microsoft.com/office/2006/relationships/ui/extensibility" Target="customUI/customUI.xml" />Drag the .rels file from the desktop to the _rels folder in the compressed folder, replacing the existing .rels file.
Remove the .zip extension from the container file name.
Open the macro-enabled file in Excel 2007. The custom UI replaces the built-in Fluent UI.
NoteDepending on your security settings, you might see a security warning telling you that macros have been disabled. If you do, click the Options button that appears next to the warning, select Enable this content, and then click OK.
Click Large Button. Clicking the button triggers the onAction callback, which calls the macro in the workbook, which displays the "Hello World" message.

Comments
Post a Comment